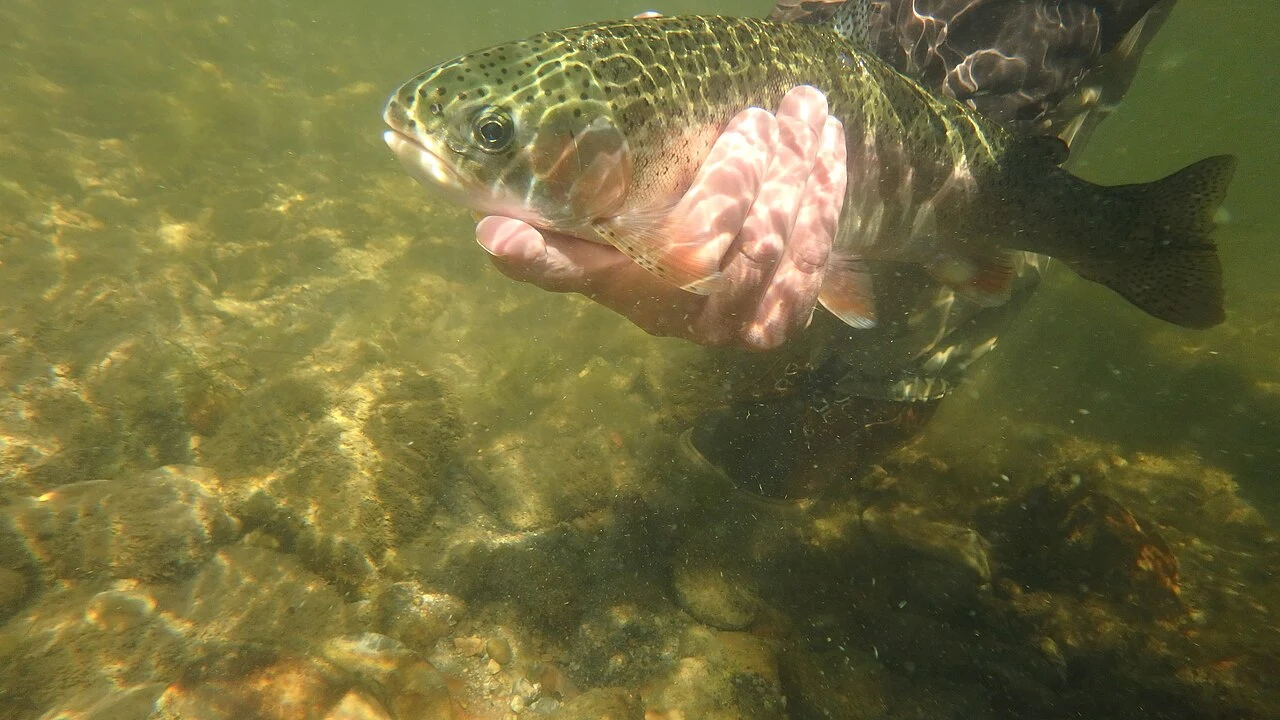
Tasmania’s River Derwent changes character as it reaches the estuary. Freshwater influence, brackish reaches, broad bays, rocky edges, jetties and deeper channels create many small pieces of habitat rather than one uniform fishery. Southern black bream exploit that variety, making them a strong summer target for an angler who fishes structure carefully and moves when the evidence is weak.
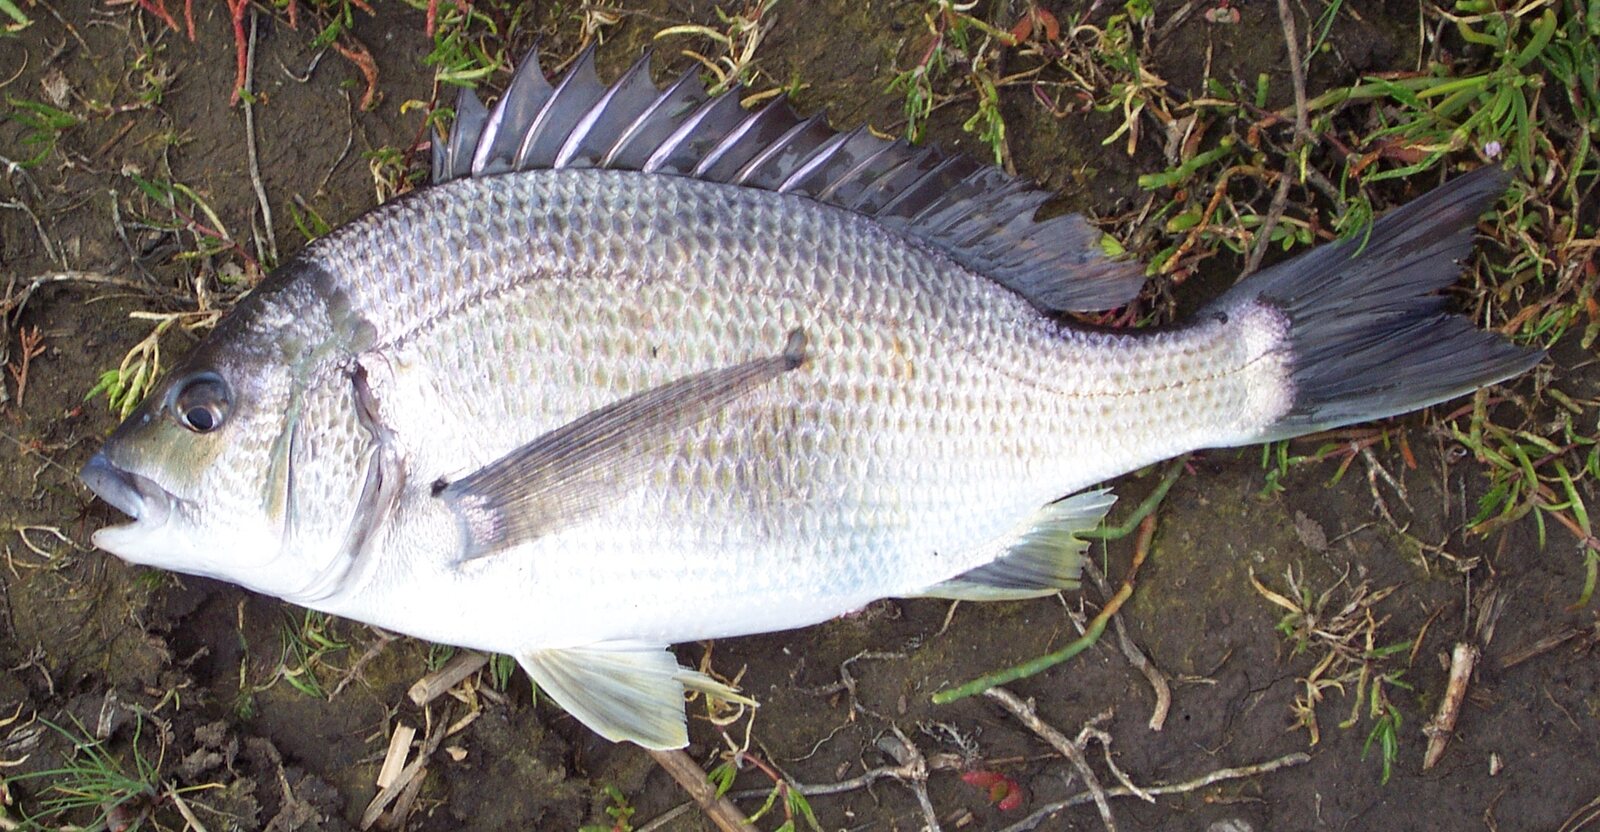
The official Fishing Tasmania profile identifies the species as Acanthopagrus butcheri and describes a deep-bodied fish with a silvery-bronze to greenish or dark back, pale chin and belly, and dark fins. The Inland Fisheries Service describes the estuarine Derwent as a productive bream fishery. Those sources are the starting point for identification and methods, but a trip also requires a fresh check of licence, season, gear and water-specific rules.
There is an additional local issue that cannot be treated as a footnote. Fishing Tasmania and the Derwent Estuary Program carry public-health advice against eating bream from the Derwent and Browns River because of metal contamination concerns. Plan this as a catch-and-release fishery unless current official advice expressly says otherwise.
Understand the summer pattern
Summer can increase bream activity in upper and middle estuary reaches, but temperature alone does not locate fish. Black bream use cover and feeding lanes: rock edges, timber, bridge or jetty structure, weed margins, sand-to-mud transitions and small drains. Current moves food past those places.
The best starting question is not “where are the bream?” but “where can a bream feed without spending excessive energy?” On a strong tidal stage, that may be the sheltered side of a point, a pocket behind structure or the edge of a channel. Near slack water, fish may spread across a flat or move closer to cover.
Rain changes the equation. Fresh inflow can alter salinity, clarity, debris and current. After heavy rain, do not assume yesterday’s productive reach will fish the same way. Look for a stable edge between discoloured flow and cleaner water, but avoid unsafe banks and floating debris.
Access without damaging the water
The Derwent passes through urban and semi-urban areas, so access can involve public parks, shared paths, jetties and roads. Use designated access and parking, respect private property and do not block ramps or working waterfront areas. Check signs at every site; an apparently open bank can still have fishing or access restrictions.
Clean, check and dry waders, nets, kayaks and tackle before moving between waters. The Inland Fisheries Service emphasizes biosecurity because aquatic pests and pathogens can travel in mud and water. Drain equipment away from the waterbody and never move live bait or water between locations.
Shore anglers should watch for slippery rock, sharp shell, deep edges and changing tide. A personal flotation device is sensible around steep banks, jetties and moving water. Kayak anglers need a conservative wind plan, visible clothing, navigation lights where required and a route that stays clear of shipping and other vessel traffic.
Tackle for controlled presentations
A light spinning rod around 2.1 to 2.4 metres, rated approximately 2–5 kilograms, covers most shore and small-boat work. Pair it with a 2000- or 2500-size reel, light braid around 4–8 pounds and a fluorocarbon leader in roughly the 6–12-pound range. Increase leader strength around shell, rock or timber; reduce it only when water clarity and open terrain justify the risk.
Black bream have strong jaws and can turn quickly into structure. A balanced outfit should cast small lures while retaining enough control to keep a hooked fish away from a snag. A smooth drag matters more than a large reel. Set it with the rod loaded, not by pulling line straight from the spool with the rod inactive.
Carry long-nose pliers, a knot tool, small net and a wet measuring mat. Barbless hooks or crushed barbs simplify release, subject to current rules and the angler’s ability to maintain steady pressure.
Bait rig
Fishing Tasmania lists baits such as worms, shellfish and crustaceans among common options. Collection and use rules vary, so either buy lawful bait or verify the rules for collecting it. Do not remove shellfish, worms or crustaceans merely because they are visible.
A useful bait rig is a small running sinker above a swivel, followed by 40 to 80 centimetres of leader and a size 4 to 1/0 circle hook, adjusted to bait size and the hook maker. Use the lightest sinker that maintains contact. A heavy sinker can pin the bait unnaturally and reduce bite detection.
Thread a small bait so the hook point and gap remain clear. Cast beside structure rather than directly into it, let the rig settle, and keep enough tension to detect a take without dragging the bait. With a circle hook, allow the line to load, then lift and wind steadily rather than striking hard.
The official allowed-methods page should be checked for current rod limits and any water-specific provision. Do not rely on a remembered “two rods” rule without confirming that the exact reach and licence conditions permit it. One carefully positioned rod is usually more useful than several poorly monitored lines near snags.
Lure rig
Small soft plastics around 50 to 80 millimetres imitate prawns, worms and baitfish. A light jig head, often roughly 1/32 to 1/8 ounce, allows a slow fall; current and depth determine the actual weight. Grubs, minnows and creature-style plastics can all work if they move naturally.
Cast beyond the target, allow the lure to reach the required level, then retrieve with short lifts and pauses. Many bites occur as the lure falls or rests. Watch the line for a twitch, sideways movement or sudden slack. Wind down and make a controlled lift.
Small hard-bodied minnows and crankbaits are useful along rock and shallow edges. Choose a running depth that occasionally touches structure without burying the lure. Pause after contact. A lure that repeatedly fouls weed or wedges between rocks is fishing below the useful zone.
If a fish follows without taking, reduce speed and profile before changing colour. If there is no contact, change angle or location. Structure-fishing is a geometry problem: a cast parallel to an edge often stays in the feeding zone longer than a cast straight away from shore.
Tide, wind and light
The Derwent is tidal in the estuary, but the most useful stage depends on the site. Rising water can open flooded margins. Falling water can draw food from drains and flats. Strong flow can make the main face of structure difficult while the lee side remains fishable.
Plan a session across one change rather than chasing a single minute called “best tide.” Arrive early enough to see which rocks, steps and paths will be covered. Never leave gear where the rising tide can trap it or force a hazardous exit.
Wind determines presentation. A light breeze can break surface glare; a strong crosswind bows line and pulls a small lure out of the strike zone. Fish from a position that places the wind behind or slightly across the shoulder where possible. If a kayak cannot hold its line without constant correction, return to sheltered water.
Low light often encourages fish to move shallower, but bream can feed throughout the day around shade and current. On bright days, work deeper edges, shadow lines and overhead structure while staying clear of no-entry zones.
Identification and handling
Southern black bream have a deep compressed body, a single long dorsal fin with prominent spines, a moderate mouth and dark fins. The body can vary from silver to bronze or greenish. Similar-looking bream species occur elsewhere in Australia, so use the official profile and location rather than a generic common name.
A landing net with fish-friendly mesh reduces handling. Keep the fish in the water while preparing the camera and tools. Wet hands, support the belly and avoid the sharp dorsal spines. Do not suspend a bream vertically from its jaw for a prolonged photograph.
If a hook is deeply swallowed, cut the leader close rather than causing major damage during a long extraction. Release the fish promptly in calm water. Catch-and-release does not eliminate impact; tackle choice, fight time and air exposure still matter.
The Derwent health advice is separate from fisheries legality. A fish can be legal to catch while official advice says not to eat it. Follow the more protective public-health direction and consult current official advice for other species or locations.
Common mistakes
The first mistake is fishing memorable structure rather than active structure. A jetty or rock wall may look perfect but lack current, depth or food at that stage. Give each target a defined trial and move.
The second is using a jig head heavy enough to erase the natural fall. The third is striking every circle-hook bite instead of allowing the fish to load the rod. The fourth is dropping leader diameter so far that every hooked fish reaches shell or timber.
Other avoidable errors include standing on a flooded exit path, leaving bait packaging behind, moving wet equipment directly to another water, and assuming a general Tasmania rule covers every Derwent reach. A fresh official check is part of the rig.
A structured half-day plan
Before travel, open the current Fishing Tasmania black-bream page, IFS River Derwent page, allowed-methods page, season information and Derwent seafood-safety advice. Confirm licence requirements and the exact reach. Check wind, rainfall and tide, then choose two accessible areas with different exposure.
Begin with a slow lure search along the first structure line. Change angle before changing lure. If fish are present but reluctant, show a smaller plastic or a lightly weighted lawful bait. Move when twenty to thirty minutes of careful coverage produces no sign.
Record the tide stage, water colour, depth, structure, retrieve and any fish response. Release bream with minimal handling and clean equipment before leaving. The durable lesson is not a secret lure: it is matching a controlled presentation to a safe, lawful piece of feeding water while respecting the Derwent’s current public-health advice.