A good travel kit supports the fishing you have actually booked and survives every transfer along the way. Begin with the itinerary, the methods and the operator's equipment list. A spare item is useful when it solves a credible problem; an extra tackle box is less useful when it makes the first flight's baggage allowance impossible.
Use this checklist as a packing system. It does not replace airline rules, border biosecurity instructions or a destination-specific tackle recommendation. Those depend on the exact route, date and equipment.
Create one trip sheet
Keep the departure point, guide contact, accommodation, transfers and emergency contact together. Save essential details offline as well as online. Write local meeting times with their dates and locations, especially when overnight travel crosses time zones.
Ask what supplied tackle includes. Rods and reels may be covered while lost lures, replacement leaders or bait cost extra. Confirm whether a landing net, release tools, life jackets and drinking water are supplied. Tell the operator about mobility needs and actual casting experience so the recommended kit suits the outing.
Record which authority controls the fishing and which owner controls access. A national licence, a local permit and permission to cross land may be different things. Keep required proof accessible. Do not pack around an old online summary when the official fishery page has changed.
Choose a primary method and a fallback
Write down the primary method in plain language: small-lure river fishing, shallow-water bait fishing or guided offshore trolling, for example. Then list the rod, reel, line and terminal tackle needed for that method. Check that lure weights fit the rod and that line and leaders suit the expected fish and cover.
Choose a fallback that the same outfit can handle. A lighter lure for shallower water may be sensible; a completely different big-game outfit usually needs a separate reason. If the guide supplies specialized gear, consider travelling with personal tools and clothing only. Ask before substituting your favorite outfit for the one the operator expects.
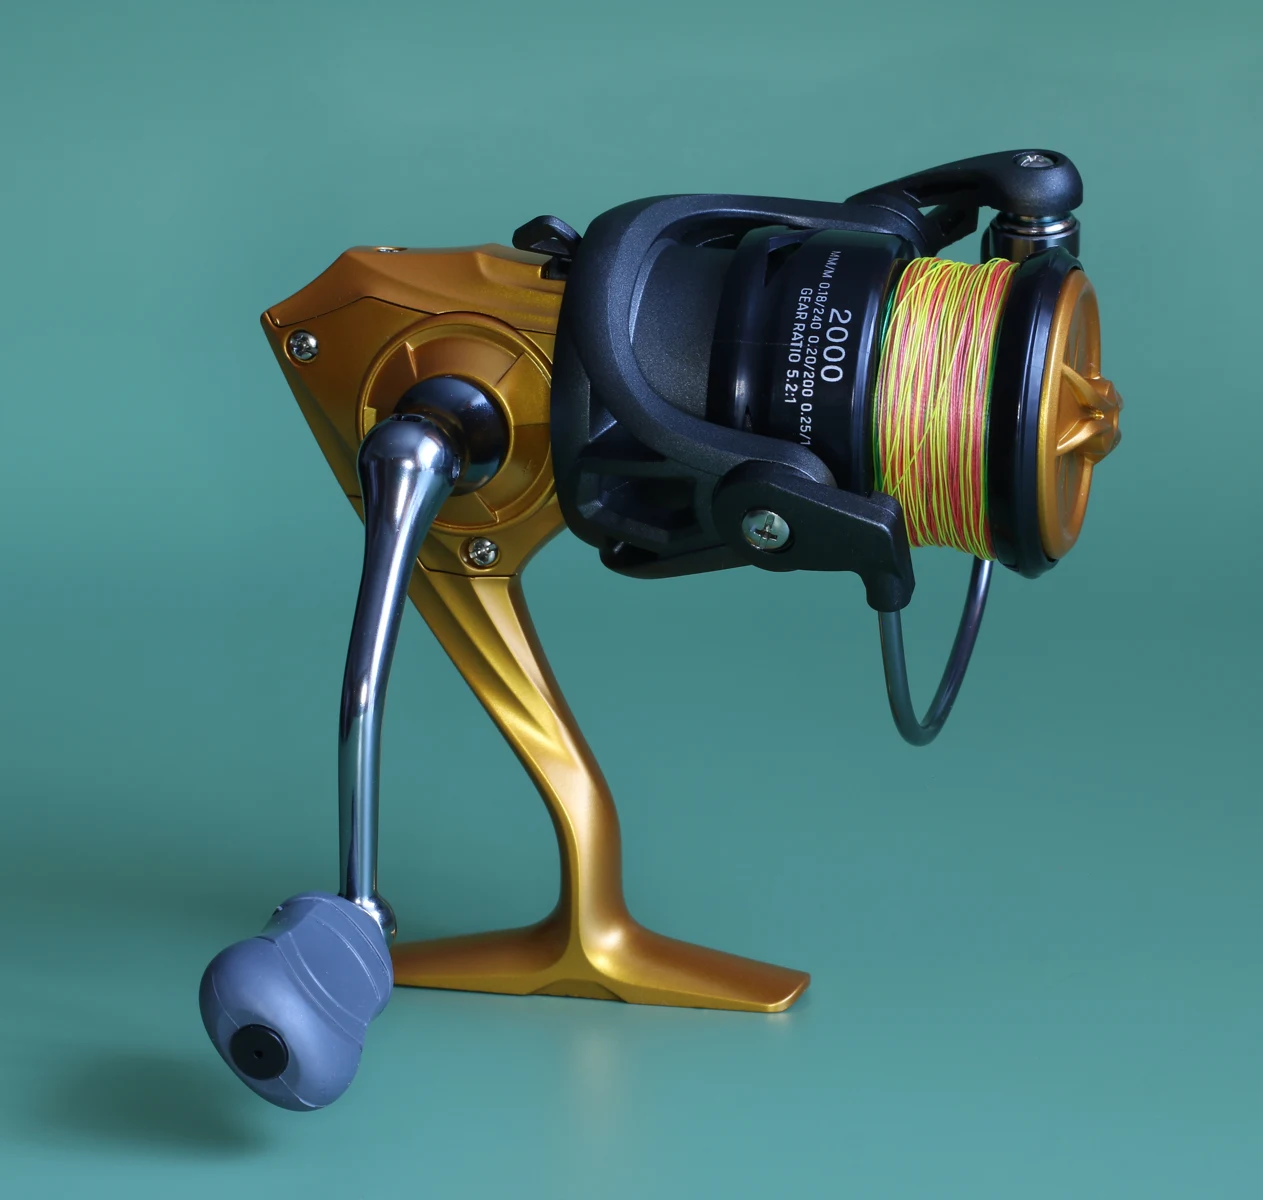
For a multi-section travel rod, assemble it before departure and inspect every joint and guide. Take the appropriate protective case. Count the sections before closing it. An impressive spare reel cannot compensate for a missing rod tip.
Divide equipment into three layers
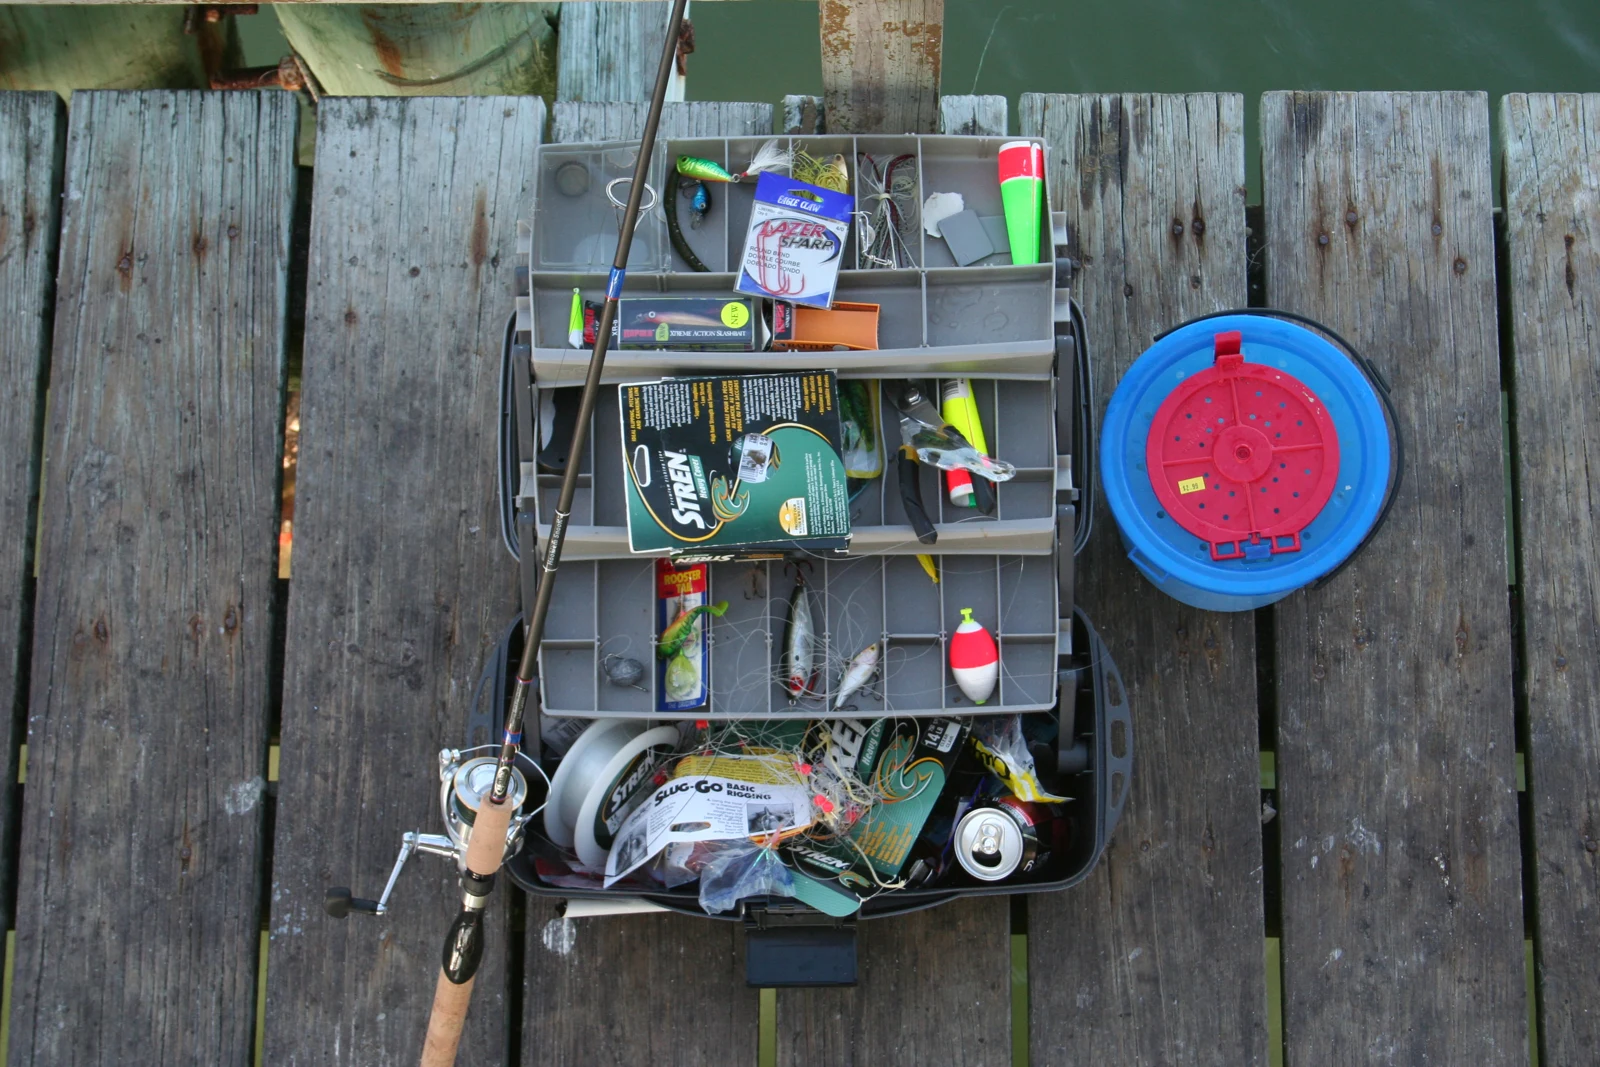
Your working layer holds the items used during a session: one small lure or fly box, the relevant leader material, cutters, pliers and a few spare terminal components. Pack sharp points in secure compartments. Keep the most frequently used items reachable without emptying the bag beside the water.
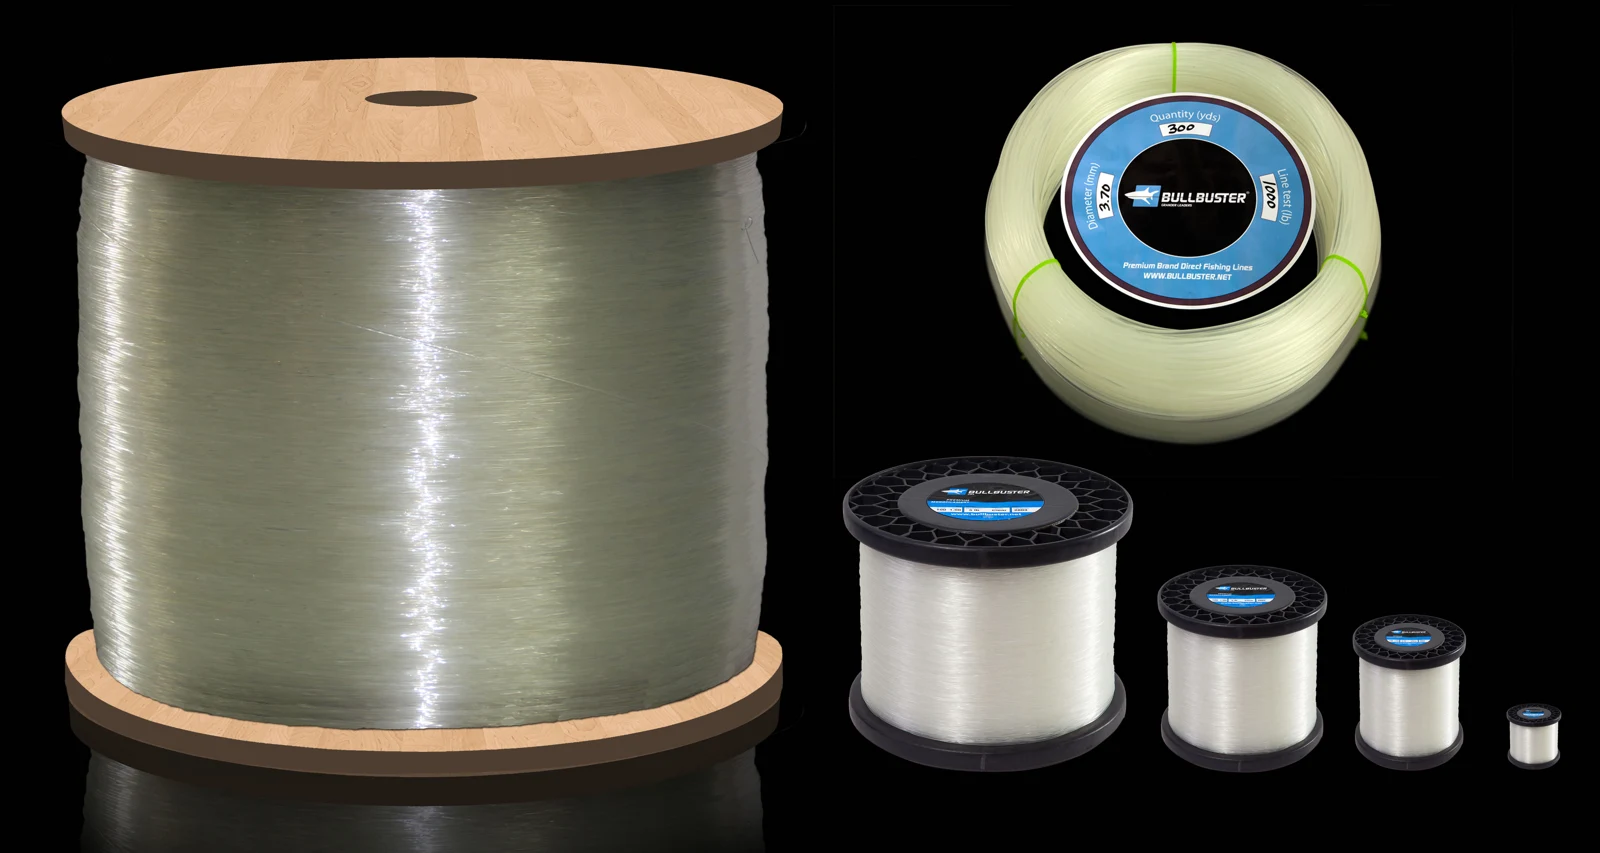
The backup layer stays at the base or in a protected boat compartment. It can include a spare spool, replacement line, extra leaders and a small supply of the exact components that wear or disappear. Label spools with material, breaking strain and diameter where known. Similar-looking clear lines become difficult to identify after their packaging is discarded.
The maintenance layer holds a soft cloth, suitable cleaning supplies and only the tools approved for routine work on your gear. Save the equipment manuals offline. Avoid taking a bottle of mystery lubricant because it happens to be in the garage; different seals and mechanisms need different treatment.
Pack for the person, not just the fish
- Clothing suited to the local weather, including a dry layer and a practical way to keep it dry.
- Footwear appropriate to the actual bank, boat or wading plan.
- Hat, eye protection and sun protection suitable for the conditions.
- Drinking water, food and a bag for all litter and clipped line.
- Personal medication, a suitable first-aid kit and the operator's emergency arrangements.
- Charged communication equipment, a waterproof protective case and a power supply allowed on the route.
- Required documents, licences and insurance information where applicable.
Try the bag while wearing the clothing you will use. Can you reach the water bottle? Can you walk comfortably with both a rod case and luggage? A packing rehearsal identifies practical problems before a crowded transfer does.
Check each transport leg separately
An airline's baggage acceptance and an airport's security decision answer different questions. Check rod-tube dimensions, sports-equipment fees, sharp tackle, tools, liquids and batteries with the responsible airline and security authority. Include the smallest connecting aircraft and the return route. A rod permitted at one checkpoint can still exceed the next carrier's cabin dimensions.
Canada's CATSA explicitly distinguishes fishing poles with smaller hooks from those with hooks over 6 cm. That illustrates why you should inspect the relevant rules rather than assume all tackle is treated alike. For travel through another jurisdiction, use that jurisdiction's authority. Pack sharp items securely even when they are allowed.
Photograph the packed equipment and keep identifying details for valuable items. Do not put everything essential in one small detachable pouch that can be left behind unnoticed. Keep the trip sheet and immediate personal essentials accessible during travel.
Make room for biosecurity
Used boots, nets, waders, boats and other wet gear can carry organisms between waters. New Zealand's Department of Conservation emphasizes checking, cleaning and drying equipment to prevent freshwater pests spreading. Plan this between waters as well as before international travel.
Look up the current cleaning method for the destination and equipment. Do not invent a universal disinfectant concentration or assume a quick rinse is sufficient. Border declaration rules can apply even to clean equipment. Check the destination's official instructions before packing and allow time for inspection where required.
Separate cleaned, dry equipment from items used that day. A wet bag is for temporary containment, not long-term storage. Open and dry it at the next appropriate opportunity, with cleaning water disposed of according to local guidance.
Pack against a failure, not against a photograph
For a hypothetical two-day freshwater lure trip, imagine one travel rod, one reel and two accessible bank venues. The first venue has open water; the second has scattered vegetation. Pack a small swimming lure for the clear lane and a compatible protected-point plastic for the vegetation, with weights inside the rod's rating. This is a method example, not a claim about the species or legal tackle at either venue. Ask the local guide which fish and forage actually occur before selecting body sizes.
| Possible interruption | Useful preparation | Check before departure | What the backup cannot solve |
|---|---|---|---|
| Leader damaged on rock | Labeled replacement material and a practised knot | Can you tie it with the actual diameters? | An outfit too light for the venue |
| One productive lure lost | A few duplicates of its size and weight | Do they swim correctly on your hooks? | Fishing a lane that snags every cast |
| Clothes become wet | Dry layer in a separate protective bag | Does the closure keep contents isolated? | Weather too severe to fish |
| Reel develops roughness | Service before travel or confirmed rental alternative | Test the handle and drag at home | An external wipe cannot repair internal damage |
| Gear used in a second water | Cleaning plan and time to dry | Read the local biosecurity instructions | A universal rinse is not a certified treatment |
The table explains why a compact spare can matter more than another full outfit. Prioritize the components that end the session when they fail. If the operator supplies rods and reels, confirm a replacement is available before carrying your own duplicate through several transfers.
Rehearse arrival and departure
Do a dry run of the first fishing morning at home. Open the case, assemble the rod, attach the reel and find the leader, cutters and landing tools. Note anything that requires emptying the entire bag. Move that item into the working layer. Remove loose hooks from clothing pockets and check that every box closes even when held on its side.
Then rehearse the return with a separate bag standing in for wet equipment. Used items must not go straight back beside clean, dry gear. Arrange suitable cleaning and drying time at the accommodation, respecting disposal guidance. Do not immerse reels in a treatment intended for boots; follow the reel's maintenance instructions and the destination's equipment-specific biosecurity guidance.
Finally, keep a short replacement plan: which essential item can be borrowed, rented or bought locally, and which must travel with you? Verify availability rather than assuming a remote shop stocks your particular rod section. This exercise produces a lighter, more resilient kit without pretending that extra luggage can remove uncertainty.
Pack the assembly, not just the lure
For the freshwater example, put the parts for one complete locally recommended rig together before you pack. A jig-and-plastic kit needs the actual jigheads, compatible bodies and any leader material, not merely a photograph of the finished lure. Lay the hook beside the plastic to check where its point will exit and whether the tail remains free. Include two locally appropriate head weights within the rod's casting range so you can compare a slower shallow swim with a deeper presentation without rebuilding the whole kit.
Make a small rig card: rod casting range, reel and line, leader diameter and length, hook size, head weight, knot and how the body sits on the hook. Use the shop or guide's demonstrated setup for the actual fishery; a travel checklist cannot determine those sizes for an unnamed target. Reassemble it from the packed bag without borrowing a tool. If you cannot, add the missing component or simplify the method.
Pack spares according to the likely failure. Repeated bottom snags call for lighter heads or a different angle, not a bag full of identical heavy replacements. If the fallback is a float rig, pack the float fittings and matched shot as well as hooks. Confirm bait availability locally before relying on it; transporting live bait can introduce separate restrictions.
Use a final departure audit
Lay out the equipment once and check it against the itinerary. Assemble the main outfit, fit the reel, examine the line and make a practice knot. Verify that the packed lures or rigs are the ones the outfit can cast. Locate the tool needed to remove their hooks.
Then check the non-tackle essentials: meeting information, documents, clothing, communication, water and the plan for unsafe weather. Leave a small amount of bag space for wet separation and ordinary travel purchases instead of packing every compartment tightly.
After the trip, mark each item as used, essential backup or unnecessary. Record anything missing and why it mattered. This turns a general checklist into a personal one. On the next journey you can pack with evidence, while still adapting the list to a different species, climate or transport route.